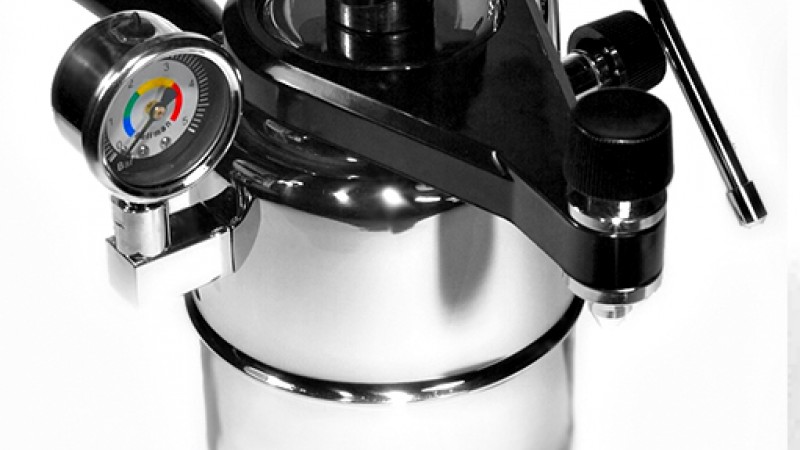
Bellman Espressomaker and steamer – Starter Guide
If you are a
regular user of Moka pots or
similar coffee brewing equipment and want to take your coffee to the next
level, the Bellman is great choice. With the pressure gauge and large capacity,
you can really dial in you espresso/milk skills to produce excellent quality
coffee.
Unlike the Moka
pot, which I would consider a very easy forgiving method for brewing coffee,
the bellman takes more care and attention but this care and attention results
in better coffee.
It will probably take a month or two to really get a feel for how to use it, find a process that suits your coffee style. If buying a Bellman I would recommend investing is a decent grinder (hand grinder is perfect) as grind quality has a big influence on the results. Ideally you need a grinder that will do a good espresso grind,
If you find that
you cannot grind fine enough you can brew at a slightly lower pressure to slow
the flow of water through the coffee.
You can make two
kinds of coffee with the Bellman, a straight up espresso or a Moka style
coffee, depending on what you like.
For an Espresso
strength coffee, we recommend the following process
- You need an espresso grind
so most store bought pre ground coffee will not work well but if you buy
direct form a roasting company who grinds you will probably be ok, having
your own grinder would be best as the Bellman responds well to tweaking!
- A Ration of two to one is a
good place to start, 20g of ground coffee produces 40g of brewed coffee.
There are 3 different levels, the minimum amount of water we recommend for
use is 150ml (Level 3) this ensures good pressure, this will allow 2 shots
of coffee.
- When using less than the
full amount of coffee you will need to use the spacer provided to ensure
the coffee is packed correctly. There are 3 levels to brew at, if you want
to maintain espresso level strength you will need to use a 2:1
ratio. A good tip is if you are making enough coffee for more than
one drink use something like a 01 Hario pot to brew into, then divide out
into cups before adding water or milk. This ensures a balanced flavour
over all of the drinks (ie not getting a very strong first coffee followed
by a weaker last coffee)
- 15g – small dose (use
spacer)
- 25g – Medium dose (use
spacer)
- 50g - Full dose (no spacer
needed)
- The 1:2 ratio is for
espresso strength coffee; you can go 1:3 or even 1:4 if you are looking
for something closer to a Moka pot style coffee.
-
FAQ
- Do I
need the paper filters? –
No, you don’t. There is an inbuilt filter which does the job, the paper
filters may a slight clarity to the coffee but the difference is tiny.
- Do I
need the tamp? No,
you can just use the spacer to tamp the coffee down but using the tamp
will give a more consistent coffee
- Does
it work on all stove tops? –
the short answer is yes! Gas, electric and induction. There are a small
few induction hobs that it will not work on, for this we have the Bialetti
induction plate.
- Should
I get a thick crema?
No! while you will get crema on an espresso machine (9bar) you will get a
very thin crema on the bellman. This is not an issue when it comes to
flavour, the coffee will still taste great. If you really want crema you
can grind a little finer, up the pressure a bit and make sure you are
using very fresh coffee.
- Do I
need to refill with water before steaming? No, there will be enough water to steam
plenty of milk.
- When
brewing the coffee is ‘spluttering’ out, is this a problem? Yes and no, if it is doing that at the
start of the pour then you have to look at your grind and tamping but
towards the end this is normal. The flow rate through the coffee increases
as a shot is pulled which can lead to a bit of ‘spluttering’ at the end,
this is normal. There are a couple of ways to reduce this
- Be gentle opening and
closing the tap, a ½ or ¾ turn is enough to let the water flow and try to
control this as the shot pours, a bit of practice and this will be easy,
reducing flow towards the end will help reduce the spluttering.
- Pay attention to you grind
and tamping. If it is happening at the start then the steam is finding an
easy way through the coffee due to either bad tamping, wrong grind or
under dosing.
- Do
you have a brew guide?
Yes, it is only a guide, best to just get stuck in and you will have
excellent coffee in no time.
Fill up with water
to your desired level.
Add coffee, a measuring scoop is supplied.
Place on a medium
heat, as it heats purge of any trapped air through the steam wand (a quick
blast will do this)
As the gauge is about to read green start to pour your espresso, keep the
pressure at the start of green until you have finished pouring your espresso.
You may need to remove from the heat during the process to maintain the level
Once done put the Bellman back onto your heat source until the gauge is at the
top of the green zone, at this point you are ready to froth your milk. Use the
stream wand to froth your milk, best to use a proper jug.
NEVER LEAVE
UNATTENDED
